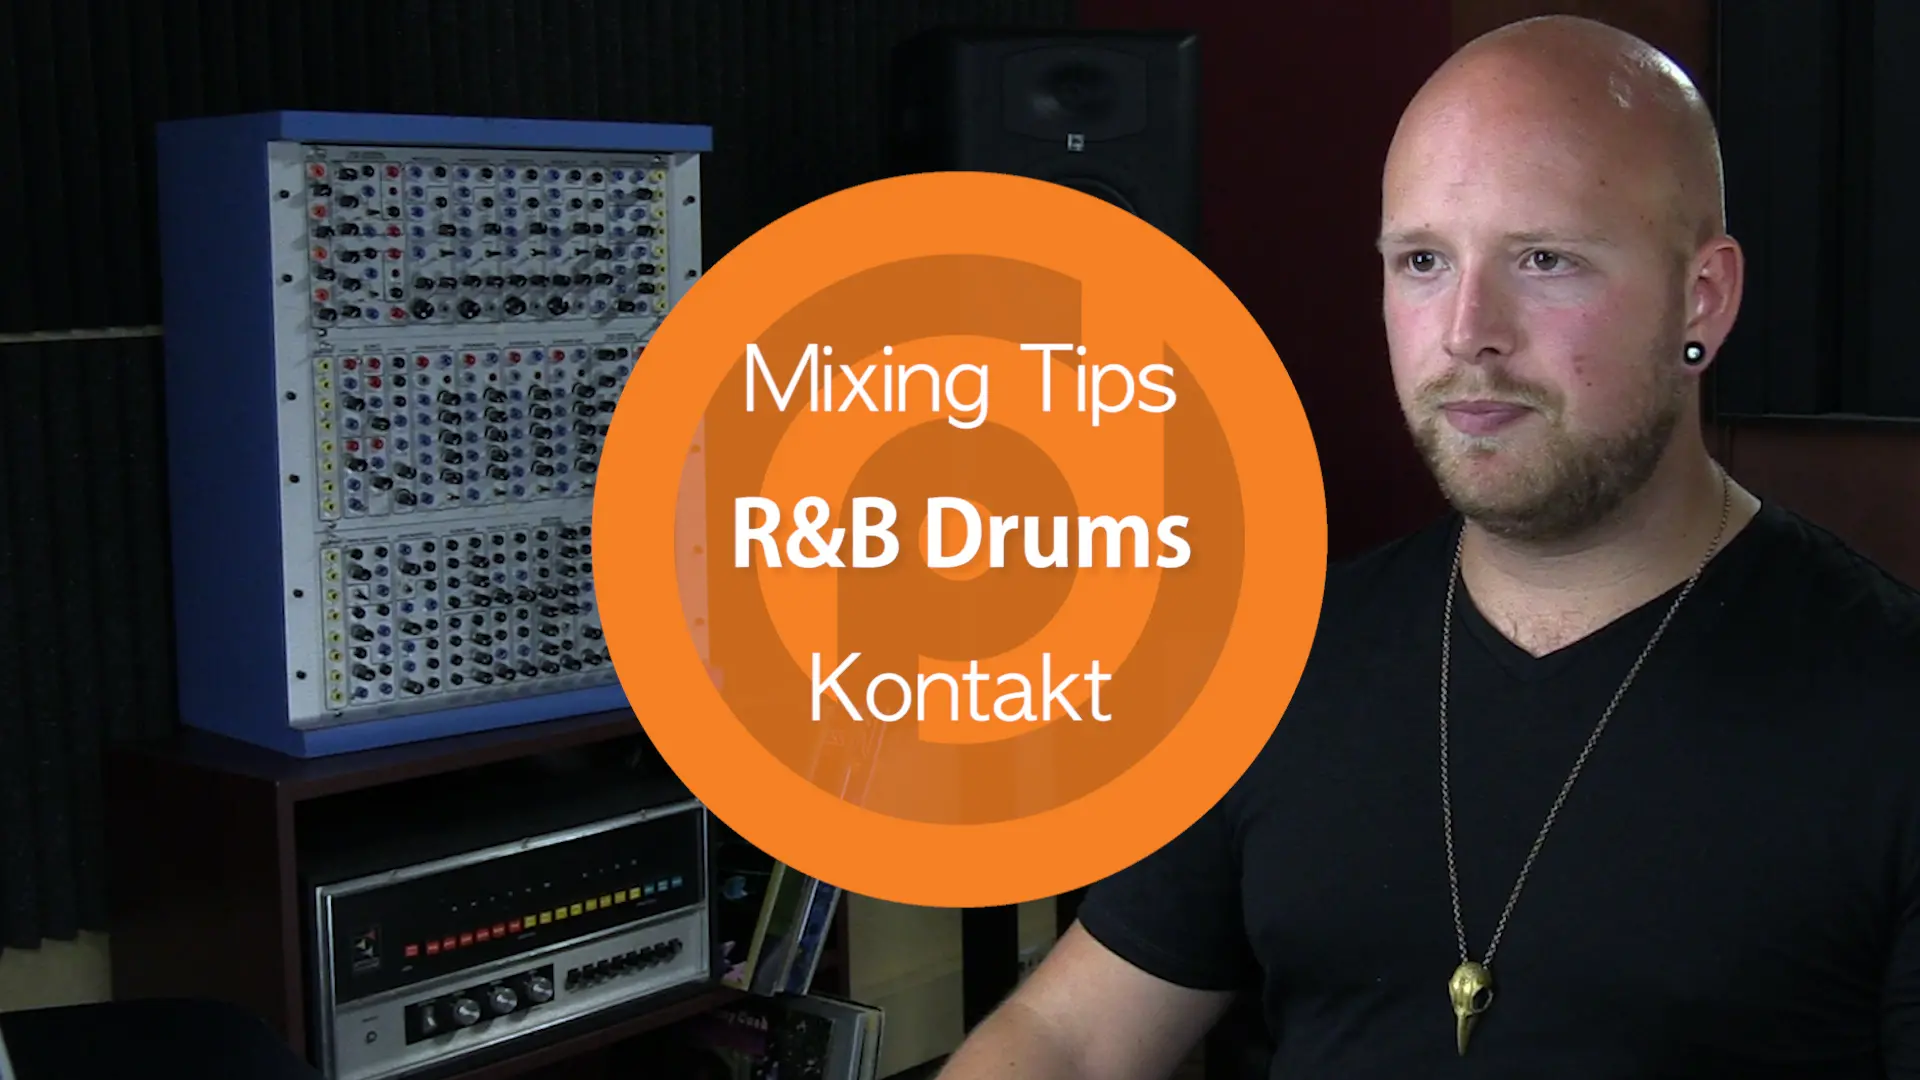
In this Ableton tutorial, Pyramind instructor Will Marshall shows us how he achieves tight-sounding R&B drums associated with acts like Questlove, The Roots, Kendrick Lamar, and Haitus Kaiyote.
He also goes over a useful Kontakt drum kit setup that allows you to trigger individual Studio Drummer samples from each cell within Ableton’s Drum Rack. This setup requires some extra time, but is worth it because you can save the Drum Rack as a preset and use it in other projects.
This is a must watch for anyone using Kontakt drum libraries in Ableton.
Here at our SF Campus, Will Marshall teaches Mixing & Mastering 301 for Ableton Live as well as DJ 210: Live Performance and Advanced DJing with Ableton Live. He produces music under his Coma Cartel alias and hails originally from New Zealand.
More from the Blog







Video Transcription:
Hey there. This is Will Marshall at Pyramind in San Francisco. Today I’m going to be showing you a specific sort of live sounding drum setup that I’ve programmed using Native Instrument Studio Drummer.
What I was trying to do when I made this was emulate as closely as I could the kind of very tight R&B or Hip Hop drum sound that’s associated with acts like The Roots, some of Kendrick Lamar’s newest material or bands like Haitus Kaioyte out of Melbourne. Very kind-of dry and tight sound that is typically used with kind-of asymmetrical, off kilted beats, a lot of swing and often used in an electronic and live music hybrid context.
The way I programmed this was kind-of unscientific. I read a couple of interviews with Questlove who’s kind-of most famous drummer who uses this style. I just played around with Studio Drummer and I wanted to show you the results I had got and walk you through how I got there.
Firstly, this is the kind of basic sound. Then a different drum loop. Now obviously this is all completely unmixed and un-mastered. This is just kind-of a sketching drum kit that I’ve been using to flesh out my own rhythms.
To start with one really big thing I did to make this easy on myself is I set up Kontakt to have labeled drum cells. Now if you go into a MIDI roll here, you can see each MIDI note has a name associated with it. The way I did that was a little bit time consuming but worth doing and once you do it once you can just save that drum kit and use it forever.
You want to bust open a drum kit in Ableton, load up Kontakt like so. I’m just going to grab just a default, where is it, studio drum pack and I’ll use the garage kit I guess. Open, this takes a moment. Okay, once we’ve got the drum kit loaded up, we’re going to go back to Ableton’s drum racks. If we open up the chain selector and open up the IO tab, by default there’s a Kontakt has been set on C1, Cell C1 which response to the MIDI note C1.
We can actually go down to this drop down here, this receive drop down and set it to all notes. See how it vanishes out of the drum rack here because it’s no longer responding to any specific cell. What it means is any MIDI note that you play into the drum rack will go straight through the Kontakt so you can just play the whole Kontakt drum library without having to create lots of cells for it. Like so.
The only thing you have to do to get the naming in, is manually create chains for each drum sound and Kontakt. Now this is, there we go. That’s our C1 and C1 is going to be a kick obviously. You just have to go through Kontakt and name each one. The first one, C1, kick is really easy but I’d like to show you how to figure out the name and get it right for, let’s say C# 1. We create that extra chain, we move it to C# 1 and then we’re going to open up Kontakt, go into our options here and if you hit select by MIDI, it will actually show you the sample that’s being played. Every time you play a MIDI note.
If we play C# 1, see we get the snare side stick. So we can label this snare side stick. To do the next one, I’ll just duplicate this, move the note up by one and now if I play that note, there we go. We have a snare center is probably what I’d call that. Then to do one more, we’ll duplicate, move it up by one again, play that note, and that is a room shot. We’ll say room shot there.
Obviously you’d have to go through the entire set of drum samples to get a fully leveled drum rack. It is a little tedious, but I promise you, it’s totally worth doing.
You can see here, I’ve gone through and I’ve labeled all of the different drum samples in my Kontakt patch, which makes this much easier for writing. The process I went through to get the sound I’m looking for was kind-of, I just kind-of felt my way through it. It wasn’t particularly scientific. I started off with the jazz mix and preset. I’m not going to load it again because it will load that preset.
Basically that, I went through all of them and the jazz preset was the closest to the sound I was looking for. What I did was, if you look at the mixer here, I kind-of adjusted each of the core sounds. Really I’m only using the kicks, the snares and the high hats. I’m not using much in the way of the toms in this kind of style of drumming, so I didn’t play with them. I haven’t got the sound of the toms particularly dialed in.
What I did was fairly straight forward. If you go back to the kit, you can see if you click on each of these core drum sounds, you have here two mix controls and they are the overhead mix and the room mix. The overhead mics are literally the mics that are over here on the drum kit, and they tend to give you a lot of kind-of brightness and splashiness and vibrancy in your drum sounds. If applied to a kick, you get a lot of kind-of high end echoing, basically reverberation from the room the drums were recorded in.
What I did was I dialed down the overhead mix on that kick to try and make the kick sound kind-of deeper and less present in the high end. Put a little bit in there because turning it all the way down doesn’t sound great.
The next over here is the room mix. The room mix basically represents a microphone that’s kind-of sitting off to the side and is recording the sound of the room that the drums are being recorded. It’s essentially capturing the room reverb. You can hear there’s kind-of a long reverb tail. Again, I dialed that down from the default because I don’t want a long reverb tail on my kick drum. I want my kick drum to be quite tight.
The next thing I did was dialed down the tune in. Basically the default settings Studio Drummer have the kick and the snare tuned more closely together. This kind of Hip Hop or R&B drum sound tends to have a deep kick and a high pitched very tightly wound snare. I tuned down the kick, I just used my ears and I just tuned it down, I think that’s two whole semi turns. This thing doesn’t actually give me a read out, but it sounds like it. That was kind-of all the modifications I made to the kick.
I then went through to the snare and I kind-of did the opposite. I actually brought down the overhead mix just a little and the room mix just a little. See how bringing down the overhead mix kind-of tightens up the snare sound. It takes some of the reverb away from it. I did the same just a nudge with the room mix.
The last and I think the most important thing I did was I tuned the snare up. By default it was this, and that does not have like a Hip Hop crack to it. That sounds more like a Rock and Roll snare or kind-of more traditional. I tuned it up and down and down and again just using my ears until…that sounds very different from if I put the tuning back, versus…it gives you just a tighter sound and that high pitched snare, when you tune a snare and you turn the tuning key and you put it under a lot of pressure and that actually changes the way the snare sounds which is something I really enjoy.
That was kind-of the basic and the most obvious quick shifts I made to the kit. The last thing I did was go into this mixer mode here, I turned down, this is the bus for the stereo overheads and this is the bus for the mono overheads, if we solo those you can hear you’ve still got a lot of sound in there. They were more up here and I turned them down, I turned this one down as well just because I felt that reducing some of the kind-of ambient microphones tighten the kit up and made it sound more dry and more Hip Hoppy.
Also the overheads are typically where the, if I find a high hat, where’s a high hat note going to be. That’s a high hat there, so you can hear a lot of the tone of the high hats comes from the overhead mics. If you solo the high hat channel itself, if we mute these, you can see that a lot of the brightness and the tone of the high hats is coming from those overheads. In bringing down those overheads quite a bit, I made the, high hats basically just gentler. There was kind-of a harshness to them I didn’t like and it brought them down in the mix, made them a little quieter.
I also dialed in, if we go to the buses here, you’ve got a reverb bus, and I picked kind-of a jazz club like a longer reverb if we…you can see I’ve got kind-of a fairly long reverb and I’ve changed that from the default room which was a shorter reverb. It’s kind-of a more longer more spacious reverb, but as you can see, I’ve turned the volume quite a way down and the kick isn’t going to the reverb at all, the snare is a [inaudible 00:10:21] and then the high hats are quite a lot.
I tried to get a sense of, basically a generally a dry kit with not that much in the way of overhead or room micing, but I put the whole kit through kind-of a long jazz club reverb which gave it kind-of a sense of a tight kit but being heard from further away. That really gave me the sound I was looking for.
There is one kind-of last change I made to the snare specifically using the transient designer in the snare. Now, a transient designer, this is the Native Instruments’ transient designer, transient master which is really, really, very good. If I turned this off, you get kind-of a raw snare sound. If I turn it back on, you get a tighter one. What I’ve done is I’ve dialed up the attack, even pushed that harder if I wanted to and dialed down the sustain which has taken a lot of the kind-of the rattle and the chains on the other side of the snare. It’s reduced that a lot. Instead of having this kind-of long sound, we brought it down to kind-of a whip cracking noise which lets it cut through the mix more and gives it that kind-of precision that’s really important in the wonkiness of these beats.
Those are the core of all the changes I made. I haven’t done any EQ work on any of these drum samples. Personally because I just don’t like the EQs built into Studio Drummer, so they’re just the default EQ settings. What I will do when I mix this, is I’ll actually make duplicate copies of Kontakt for all the high hats, all the snares, all the kicks and then I’ll mix each one of those buses individually. That will allow me to really dial in the EQ and stuff later down the line when I have more of a sense of exactly how these drums need to sound for the song I’m working on.
That is kind-of the core of it in terms of dialing in Kontakt to get the sound I want. If I duplicate this, I’m going to reset it to the default kit so you can see basically the difference in sound. If we load up Kontakt here, I just make a duplicate kit, go to browse and we go to the Studio Drummer and bring in the garage kit…i pick the garage kit literally I just tried all of the kits that were available, I have abby roads one as well and I just liked the garage kit best.
This is our drum loop with the default settings, and a drum loop with the modified settings to make it tighter. You can see it’s an erratically different sound with not that many modifications.
In terms of kind-of quick final things I did to this, I threw on, this auto-filter isn’t doing anything that was just an experiment I was playing with, but I threw on an EQ Eight and just used that to roll off the low, low end of the kick. If you listen to that, rolling off that low end rumble on the kick really tightened up the sound again and gave me that kind-of precision I was looking for.
Lastly, I used U-He Satin, just a tape emulation plug-in and I think it’s just on one of the basic master imprints. I spent almost no time on that. I just like the tone of tape on drum sounds a lot and I tend to throw presets on. See how it brightens the whole thing up and kind-of gels it all together.
That’s it. Now obviously there’s a lot more that can be done on mixing this, making it sound tighter, whatever you wanted to do you can modify the snare samples more, but all of that is best left to a later point where you have actually written a whole song around the track and then you know where the drums need to be softer or tighter or harder or whatever it is you need to do. For now, all I’m doing is saving this kit, it’s actually labeled wrong right now. I’ll call it, let’s say Labeled R&B, what was it, it was the Garage Kit. Then I’m going to go into my user library, go into my coma cartel, my project folder, drums, kits, and if I drag this in here, I can save it and now I have this kit available to me whenever I want to get into this kind of drum sound.
That’s it, I hope that was useful to you and if you have any questions, comment on the video and I will do my best to answer them. Thank you.

